Plex installation on synology using docker
Why Plex, Why Synology and Why Docker?
I find PLex an easy to use and maintain solution for managing and viewing my media files. I am also a big fan of Synology mainly because of the simplicity and ease of use. When it comes to Docker, lets say that I like abstracting and Docker makes my life easier when it comes to abstracting at the app layer that packages code and dependencies together and keeps them separete from the operating System.
Docker support is a separate install on Synology DSM
Navigate to the Package Center and install Docker. The package is provided and maintained by Synology, however make sure that your device is supported
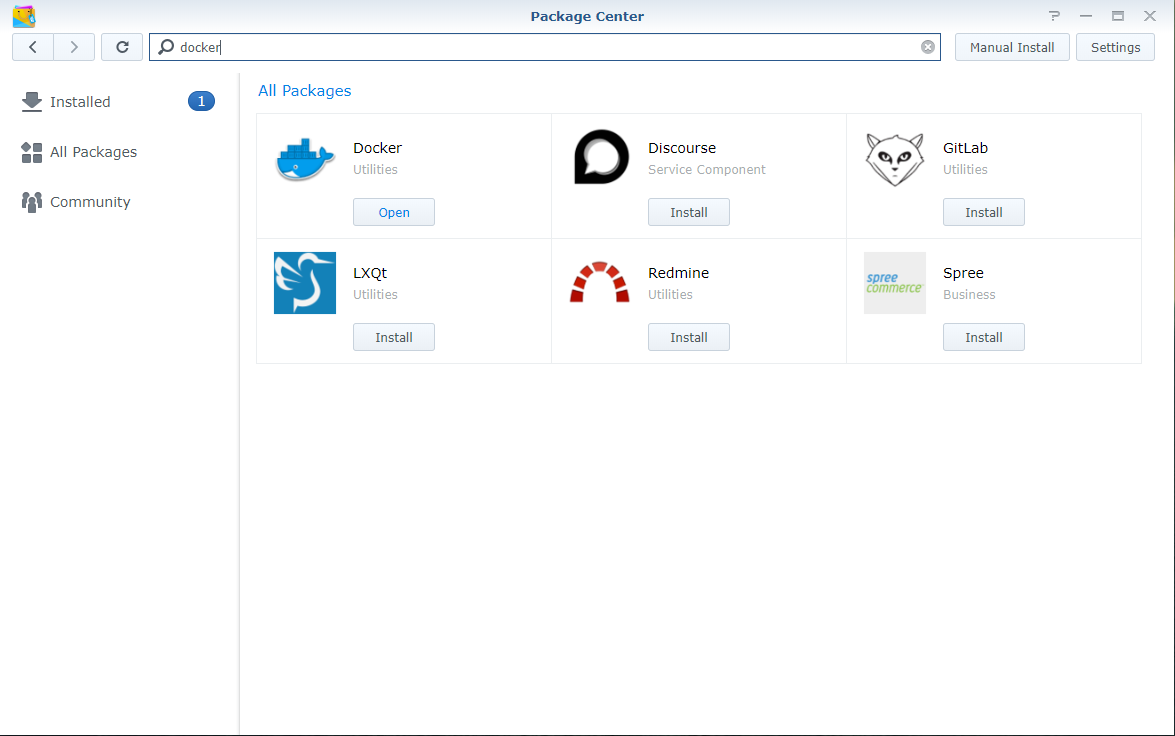
Find and download linuxserver/plex in the Docker registry
From the main menu, access docker, navigate to the registry tab, search for “plex” and click Download.
This step is equivalent to cli “docker pull linuxserver/plex:latest”.
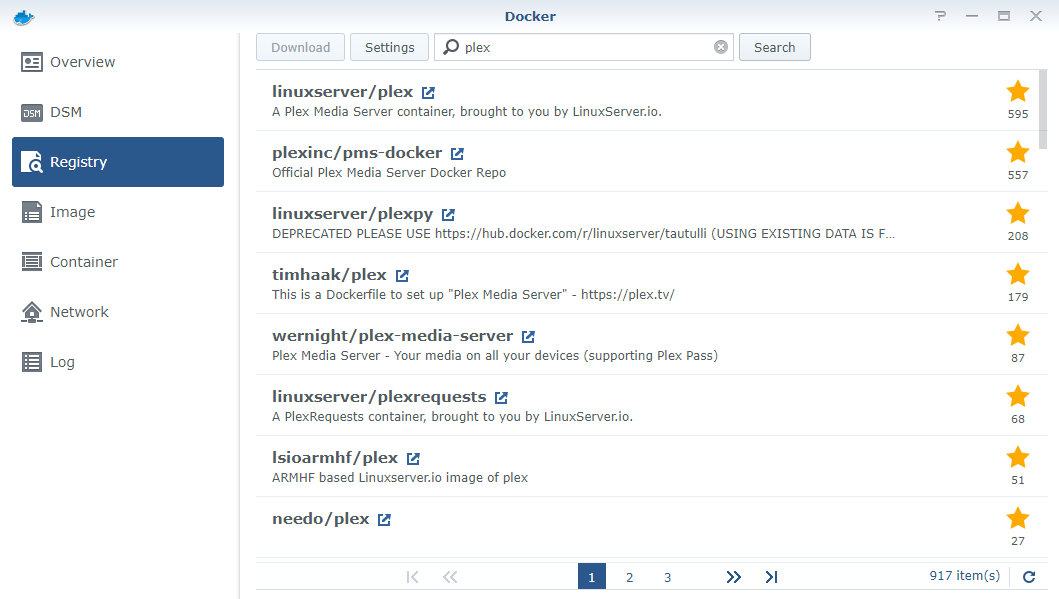
Wait a couple of seconds for the download to complete and then navigate to the Image tab. Find the plex image, select it and click Launch. You can check the documentation prior your setup.
Configure and Create Docker container from image
In the next steps, you will configure ports, volumes etc.
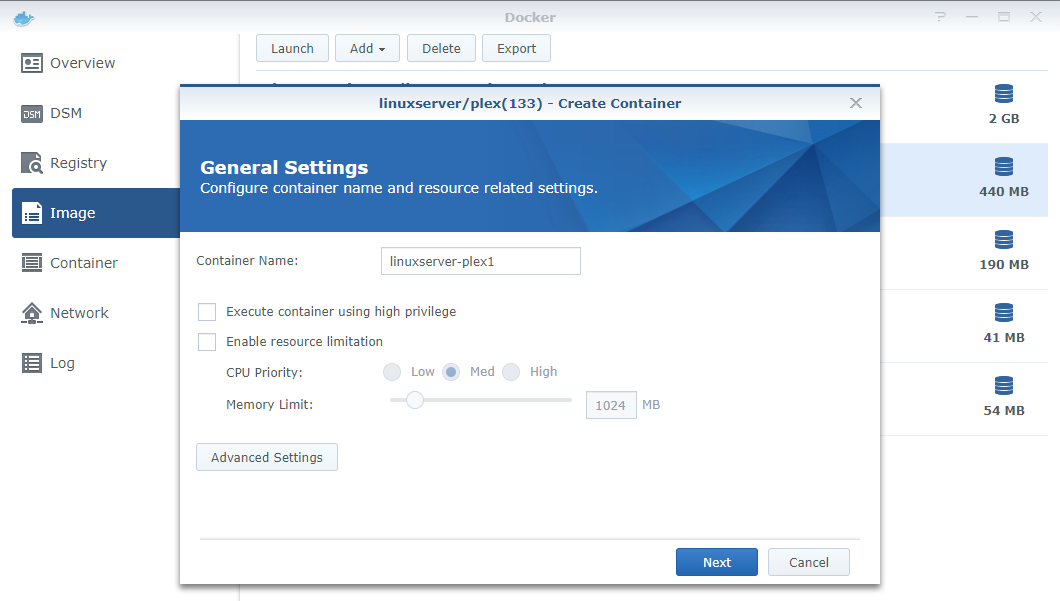
Step 1 - Naming
Give a name to your container and then click “Advanced settings”.
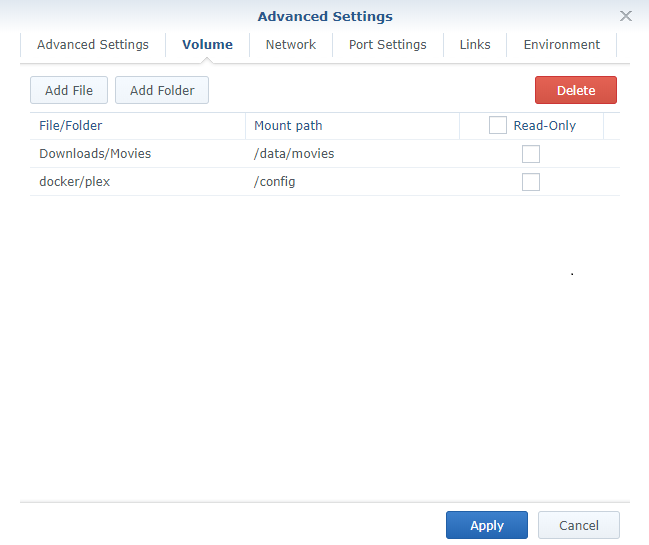
Step 2 - Volumes Sharing persistent data with Docker containers
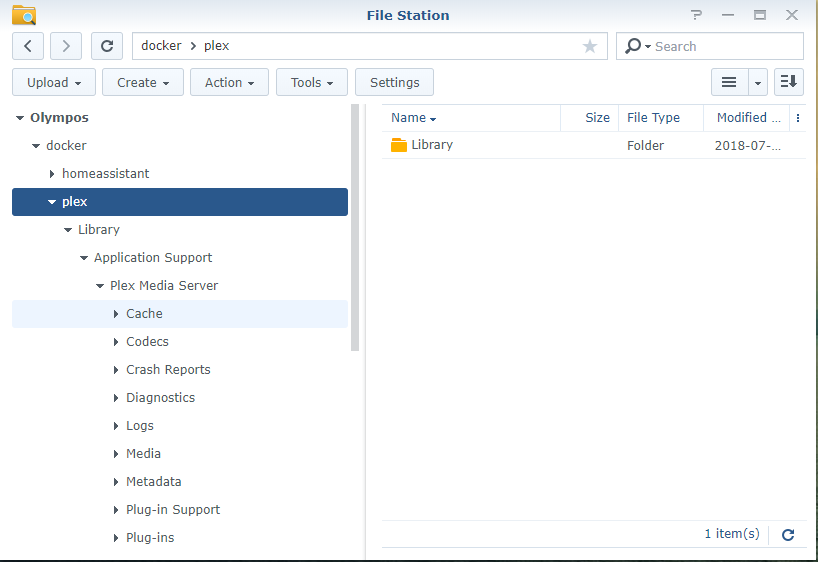
I always keep configuration outside containers. By doing that makes container upgrades, backups and configuration easier. I have created a shared folder on my Synology and mount that as volume to the container.
Step 2.1 - Mount Plex configuration folder path
Click on “Add Folder” button and select the folder and select the shared folder you have previously created. On the mount path enter “/config”.
Step 2.2 - Mounting media folders
Now click again the “Add Folder” button and add your media folder. Since Plex can also delete and update your media files, I’ve chosen to allow read/writes on the media folders.
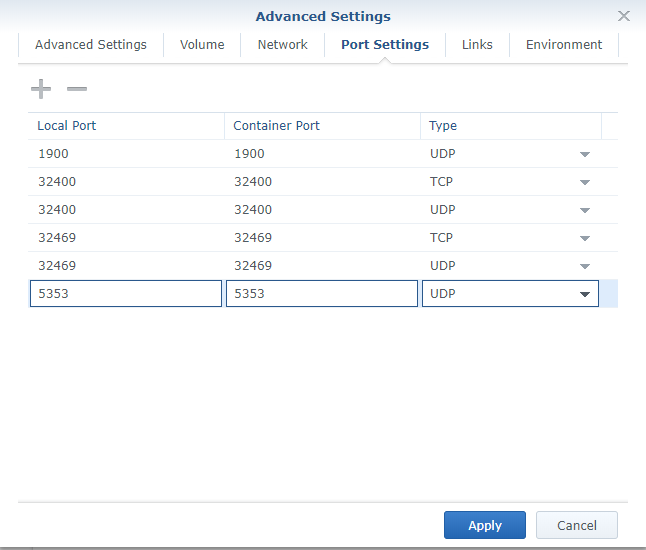
Step 3 - Mapping ports
Map the ports as you want, especially if you have other containers running on the same port.
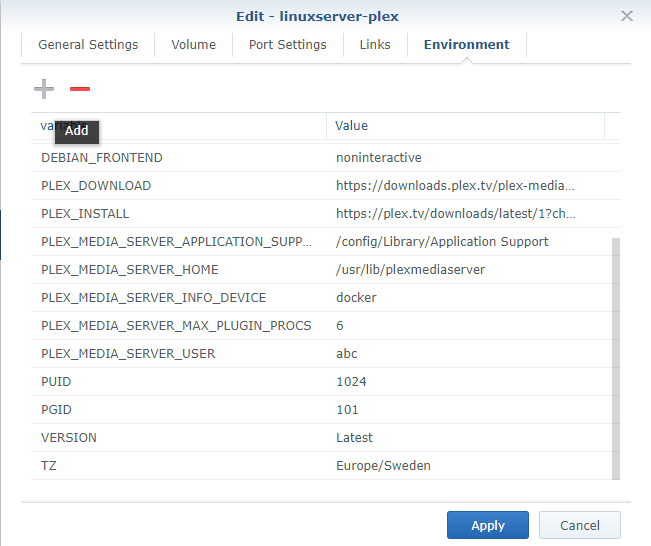
Step 4 - Specifying additonal environment settings
In the Environment tab, I’ve chosen to set TimeZone, Version, PUID and PGID.
The Version setting will allow auto updates to the latest Plex version. According to the official documentation the following version settings are supported
- docker: Let Docker handle the Plex Version, we keep our Dockerhub Endpoint up to date with the latest public builds. This is the same as leaving this setting out of your create command.
- latest: will update plex to the latest version available that you are entitled to.
- public: will update plexpass users to the latest public version, useful for plexpass users that don’t want to be on the bleeding edge but still want the latest public updates.
-
: will select a specific version (eg 0.9.12.4.1192-9a47d21) of plex to install, note you cannot use this to access plexpass versions if you do not have plexpass.
The PUID and PGID environment variables are used in order for the applications running inside the containers to run under the correct user scope. To find yours connect to your synology using ssh and use id user as below.
$ id username
  uid=1001(dockeruser) gid=1001(dockergroup) groups=1001(dockergroup)
Access Plex
If everything is done correctly and the container has started succesfully you should be able to access it through http://YOUR_SYNOLOGY_IP:324O0 unless you have specify other ports for the webui in Step 3.